Showing posts with label New years manicure. Show all posts

Thursday, December 29, 2016

My #4 Favorite Polish for Winter 2016 is...

Merida!

Merida was released as part of the Zoya Urban Grunge collection for Fall 2016. There are six cremes and metallic holographic polishes (including this one) in the collection. I knew I had to pick up this green once I saw it. I also picked up a few more from the collection as well. You really need to try ZOYA polish if you haven't. They are so consistent with their formulas and their colors and finishes are so unique. Especially this gorgeous Merida! It opaque in two easy coats, the formula is perfect and the holographic shimmer is so beautiful! And it's just as easy to remove as regular polish. So what's not to love?


I don't have any comparisons for this polish in my collection!

I don't tend to wear holo polishes as a solo mani. I feel that can be a little overwhelming (in my opinion).  But, when used sparingly in nail art designs holos add SO much without being to overpowering. You know what I am trying to say? So, here is the design I created for this one. I think simple works well with a stunner like this one. And, it's so easy to do! 


Click on the link below for the full length tutorial. You can go polished for the New Year holiday too!


-Go Polished

Thursday, December 31, 2015

Another New Years Design!


My last New Years Eve design for 2015. I am sticking with the glitter gradient design because I am so in love with it this year! This time I created a lighter gradient base. 

Here are the products I used to create this look:

(chunky  and fine gold and silver glitter)

Give this design a try by following my tutorial- you can go polished for the holiday's too! Click on the link below for the full length tutorial.


-Go Polished

Wednesday, December 30, 2015

New Years Manicure-Black and Silver Triangle Nails


This is a simple and easy manicure that would be fun for New Years! I know it's not super original, but I LOVE black and silver together. 

Here are the supplies I used to create this look:
What's Up Nails Regular Straight Tape (you can also just use masking or painters tape)

Click on the link below for the full length tutorial!


- Go Polished


Tuesday, December 29, 2015

Tips for Liquid Sand Polishes

When liquid sand polishes came out a few years ago and were all the rage I was curious to see what all the hype was about. I heard that they dried fast, lasted longer on the nail, were opaque in one coat, were easy to use and all of polishes were so unique and beautiful. All those things intrigued me. Below are some examples of a few:


I decided to swatch one of the bottles in store to give them a little test (shame on me) and they were so scratchy! When my nail rubbed against my other fingers it totally gave me the willies! It was like someone scratching their fingernail on the chalk board. So, needless to say I didn't purchase one. But they were so pretty! Dang.

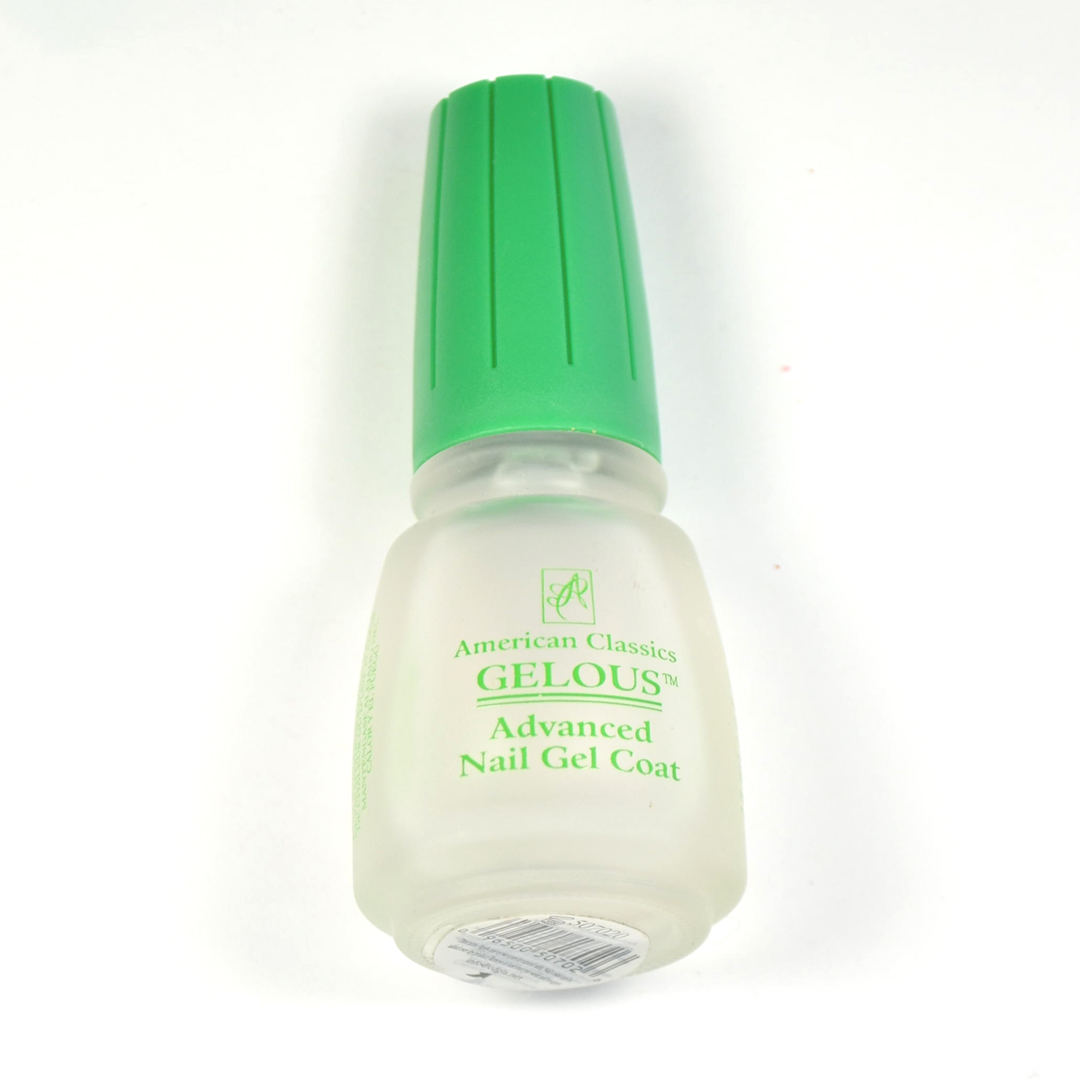
Then I had been doing a lot of research on how to cover up the texture of regular glitter on nails because obviously I have issues. Through Young Wild and Polished I discovered this handy little product-

American Classics Gelous! It is just the right rubbery thickness to cover that pesky glitter grit-along with a good top coat. So, I also tried it with my sand polishes (I only have a few), and it works great. It doesn't make it completely smooth, but smooth enough. I also pair it with a good fast drying top coat. I find it works better if you do only one coat of your sand polish that covers all the nail but isn't too thick, then one coat of Gelous and a top coat. Sometimes I will even repeat the Gelous and top coat again. Just know that if you do, it will take longer to dry.

I recently added OPI Ce-less-tial Is More from the Winter 2015 Starlight Collection! It's so beautiful. It's a silver, gold and rose gold polish with iridescent glitter. I knew it would be so perfect for New Years! A glamorous, simple and easy manicure! Or just pair it with your favorite color for a pretty accent nail.


So if you have been wanting to try liquid sand polishes, try it with this and see what you think.  I would still try other products for this purpose so I will keep searching for something even better and let you know when I find it. If you have something that you think works better than this, let me know!

-Go Polished

Monday, December 28, 2015

My #6 Favorite Winter Polish for 2015...

OPI Guys & Galaxies

This deep maroon polish is new from OPI's Winter 2015 Starlight Collection (Star Wars). I love how classic this color is and I feel like it will look good on any skin tone. The formula is a dream, and it was opaque in two smooth coats. I am really happy I picked it up! The swatch below is two coats. 


When I picked Guys and Galaxies up at Ulta last month I thought it would be the same color as Essie's Carry on (which I love), but I was happy to see that G&G is more red toned and Carry On is more dusty and purple toned. Yay! Sleigh Ride for Two is a similar maroon color but has that glittery metallic sheen. So it stands alone in my collection!


I knew I wanted to save G&G for New Years, and I knew I wanted to add some gold glitter to it. So I am elated that New Years is finally here!! Let's party people!! Okay, sorry I got a little carried away, nail polish will do that to me sometimes :). Anyway I love, love, LOVE it! 


So of coarse I made a tutorial for you because I want you to go polished on New Years too!

Here are the products I used (with links)


Click on the link below for the full tutorial with LOTS of important tips for this look!
*If you create this look use #gopolishednails in Instagram so I can see it!


-Go Polished